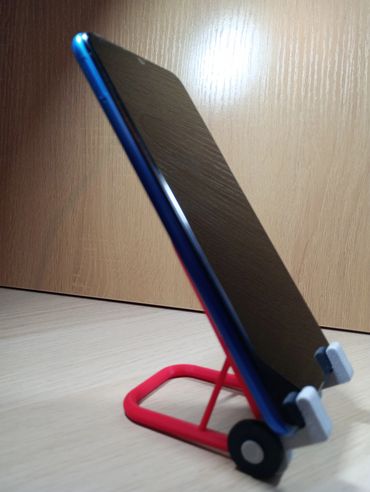
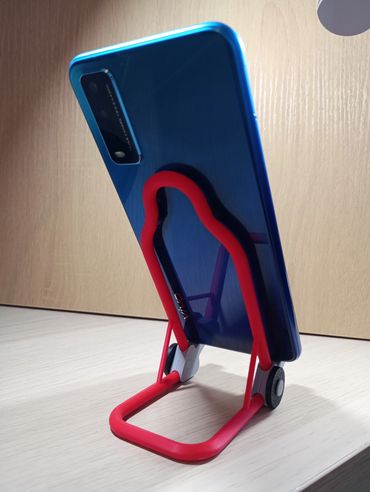
Mini Motorbike Paddock Stand (Phone Holder)

Mini Motorbike Paddock Stand (Phone Holder)
Bring the garage to your desk with this functional, 3D-printable miniature paddock stand. Designed for easy multi-color printing and sturdy assembly.
Features
- Multi-Part Design: Printed on 3 separate plates to easily achieve a custom color scheme (e.g., matching your favorite racing brand).
- Universal Vibe: A perfect gift for bikers or a cool way to dock your phone while watching MotoGP.
Assembly Instructions
1. Prepare Your Parts After printing, ensure all surfaces are clean. You will have a frame, four main body halves, two wheels, two pins, and two foot bases.
2. Bond the Frames Apply a small amount of super glue (cyanoacrylate) to the mating surfaces of the two body parts. Align them carefully and clamp them together until the glue sets to ensure a seamless look.
3. Install the Wheel Slide the pin through the center of the wheel.
This is designed to be a precision fit. Depending on your printer’s tolerances, you may need to lightly clear the hole with a drill bit for a smooth rotation.
4. Secure the Pin Press the pin (with the wheel attached) through the assembled body. If it’s a tight fit, use a small clamp or pliers to press it home.
5. Final Details Apply a drop of glue to the foot piece. Position it onto the frame according to your preference and clamp it until secure